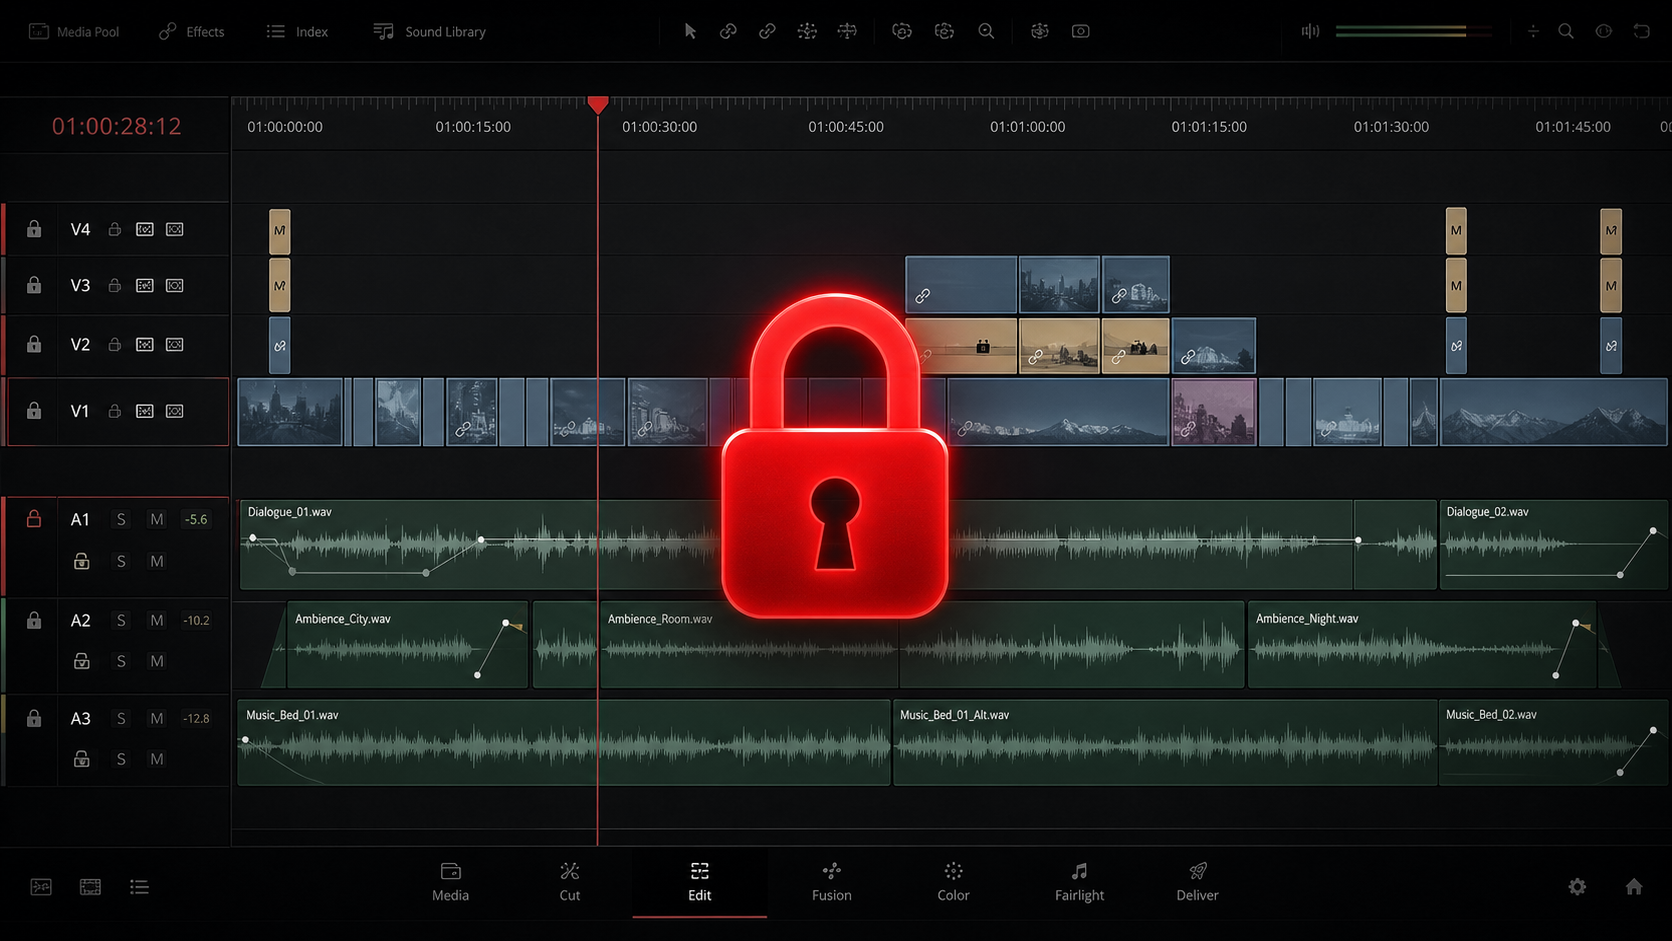
Picture lock might sound final, but it is really just a transition point. The episode's structure is set, the creative edit is agreed on, and the timeline stops changing in ways that might interfere with later steps. Still, the work is not over. It just changes focus.
In a Resolve-led workflow, this switch is especially useful because much of the finishing can stay within the same application. You do not have to export to different systems unless you want to. Resolve can take your project from the locked edit through conform, grading, VFX, graphics, audio post, QC, and delivery, all in one place.
That does not mean every project must finish entirely in Resolve. Many teams still send sound to Pro Tools, handle VFX elsewhere, or use other mastering tools for specific needs, especially when outsourcing audio mixing and mastering, VFX, and colour grading. But one of Resolve's main strengths is that after picture lock, you are not forced into a fragmented workflow.
You can keep more of the finishing process connected to the same timeline, which is more important than people often realise. You can even have multiple people working on different aspects of the online at once, such as VFX artists working on shots in Fusion while a colourist works through their first balancing pass. That can add a whole lot more efficiency to a project after it is picture locked.
Conform comes first
Once the cut is locked, attention shifts from creative choices to ensuring the edit is technically solid for delivery. The first step is usually conforming. If the offline edit used proxies, picture lock occurs when you relink the timeline to the highest-quality source media.
In a well-managed Resolve workflow, this is simple. Proxy and original media can be linked so that speed changes, reframes, titles, and timeline decisions carry over without rebuilding the sequence. This is one reason why starting and finishing in Resolve can save time and lessen problems. You are not moving the edit between applications and then finding that a retime or mixed-format clip behaves differently elsewhere.
Colour and shot finishing
Once the high-resolution media is online, you are ready for finishing. For many, the next step is colour. Resolve is known for its grading tools. After lock, the Color page is where the timeline starts to look polished. Exposure is balanced, cameras are matched, and log footage is shaped.
Secondary corrections can isolate faces, screens, or skies. Windows, qualifiers, and tracking help the grade follow the shot, rather than applying changes to the whole image.
But colour is just one part of the process. In many practical projects, the locked cut still has temporary screens, rough title placeholders, cleanup notes, unfinished graphics, and shots that need more work. In a fragmented workflow, these tasks are sent to separate tools, which can create versioning problems and extra steps.
Resolve offers another way. On the Fusion page, you can handle everything from simple fixes to advanced compositing without leaving the project. This might include replacing a screen, painting out a mic shadow, stabilising a shot, building a lower third, animating a title, creating a split-screen, adding a keyed element, or doing more complex VFX and motion graphics.
Fusion is helpful because it can handle both quick fixes and more involved work. Such flexibility means the timeline does not have to become rigid just because the cut is locked. The structure is set, but you can still refine shots.
Graphics after timing is stable
Graphics are similar. Even if a show has a set graphics package, there is often finishing work that only becomes clear once the episode is stable. End screens, supers, bug placement, sponsor slates, disclaimers, subtitle styling, animated callouts, and social-safe versions often come in late because they depend on final timing.
Resolve is well-suited for this because the Edit, Fusion, and Deliver pages are all connected. You can adjust graphics, check them in context, and keep moving forward.
Audio post in Fairlight
Sound is another area people sometimes overlook in a DaVinci Resolve workflow. Many still think Resolve ends at picture and hands off to someone else, but that is not always the case. Fairlight is a full-featured sound environment.
After picture lock, you can use it for dialogue editing, noise cleanup, EQ, dynamics, automation, bus routing, music balancing, effects editing, ADR prep, and final mixing. If the project continues in Resolve, Fairlight is where the soundtrack goes from a guide to a finished product.
This can cover balancing clips, EQ, compression, de-essing, hum removal, noise reduction, panning, bus processing, and full mix automation. It can also cover tasks like laying back voiceover, cleaning dialogue, cutting ambiences, shaping transitions, and building stereo, surround, or other mastered outputs.
For many teams, this is enough to complete audio post without leaving the project. If a dedicated mixer is involved, Resolve still works well. AAF and Pro Tools-compatible exports let you send the locked sequence out for full sound post, then bring back final mixes and stems for layback, sync, and delivery.
Resolve as the finishing hub
In short, Resolve does not force you to choose between doing everything in one place or splitting up the workflow. It can be the finishing environment or the central hub that hands off to specialists and brings results back.
This flexibility is vital after picture lock. Resolve is valuable not just because it offers many features, but because it reduces the number of times you have to split the timeline. As you get closer to delivery, this becomes even more important.
QC and delivery
At this stage, you are not just finishing the episode creatively. You are making sure it is ready for release. This means checking titles, statutory text, subtitles, captions, graphics, replaced screens, sponsor inserts, audio sync, and making sure the master export is correct.
Resolve helps here, too, because the Deliver page is where all these decisions become actual files. Master exports, platform-specific encodes, review files, texted and textless versions, stereo and surround deliverables, social cutdowns, and archive renders can all be created from the same project, with the render queue keeping them organised.
If your workflow includes remote review, cloud collaboration, or multiple outputs for different stakeholders, all of that can stay connected to the same timeline.
Of course, this does not remove the need for quality control. Nothing does. In fact, the more capable an application becomes, the easier it is to assume that integration means everything is safe. It does not. A Resolve-led workflow still needs someone to check the final export carefully, to catch any unnoticed issues.
What Resolve changes is how the handoff works after picture lock. Instead of the project splitting into separate technical processes, the timeline can move into a controlled finishing phase where colour, VFX, motion graphics, subtitles, audio post, and delivery stay connected. You can grade on the Colour page, build comps in Fusion, mix in Fairlight, and generate masters on the Deliver page, all without constantly reinterpreting the edit in another system.
That is why picture lock in Resolve is less about stopping the work and more about focusing it. The edit is done. Now the project needs to become precise. After lock, the question is not whether the episode works, but whether every part of the finish is ready to deliver the same idea all the way to the end.